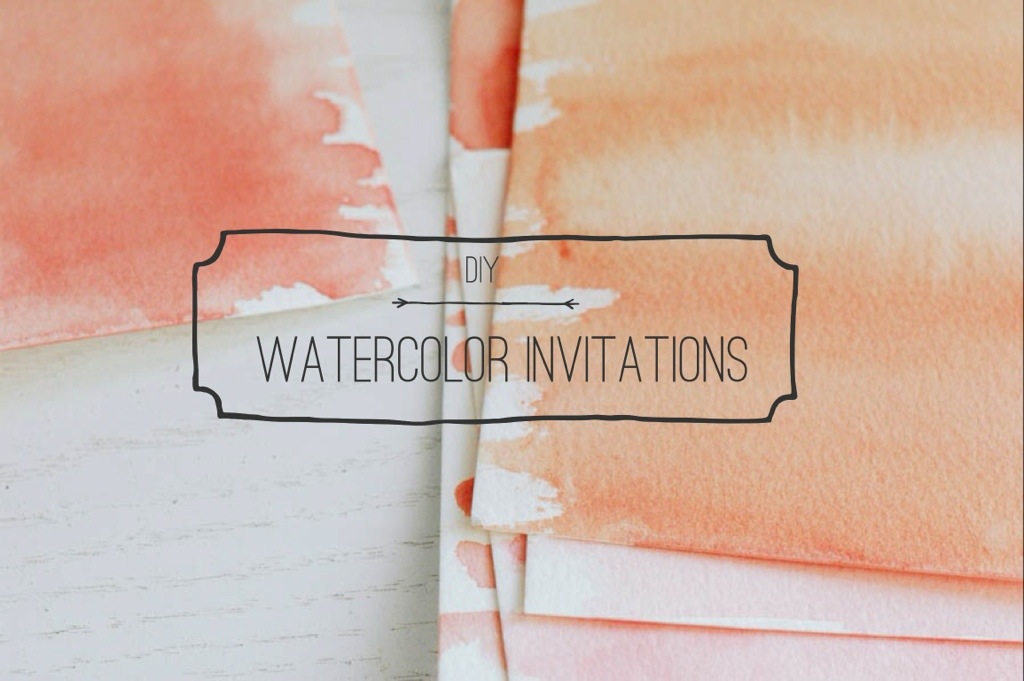


In the world of digital everything, receiving real mail (even when hand-delivered) can feel like a gift. E-mail is convenient and free, and with so many digital invitation options (Evite, Paperless post, etc.), it’s often difficult to justify the time and expense for paper. I get it. Believe me, I get it. Time is valuable, which is exactly why a handmade, snail-mailed invitation can be just the right treat for your guests, no matter their age. Of course, an invite tucked in with confetti and wrapped in twine will feel like a mini-party in itself.
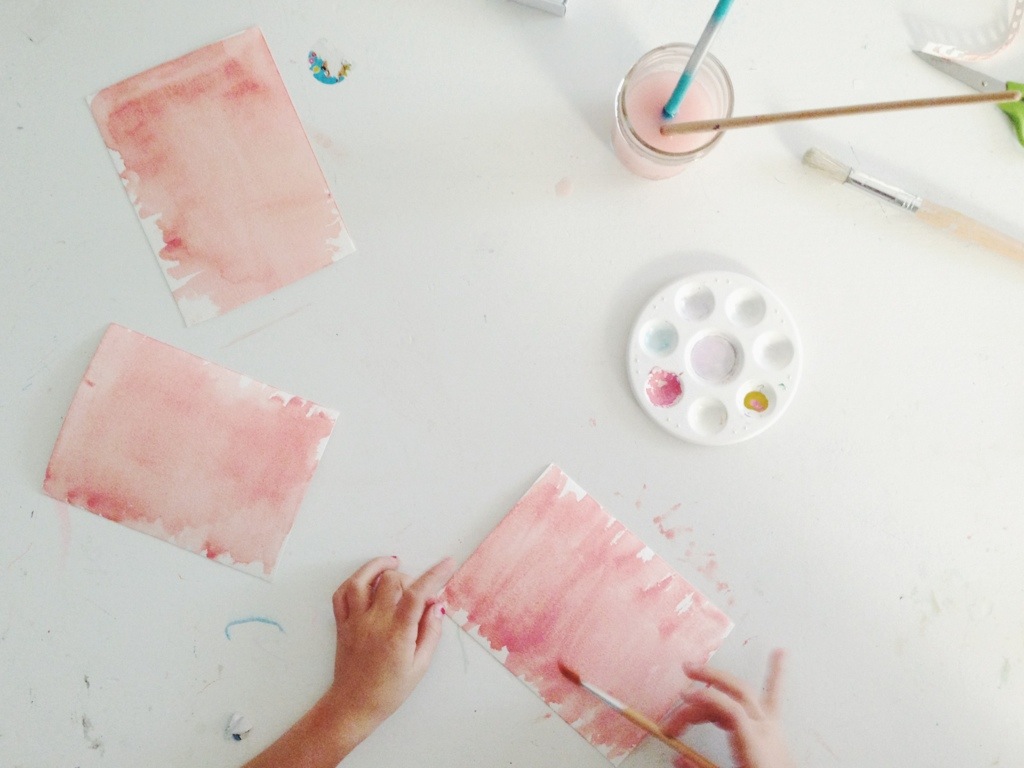
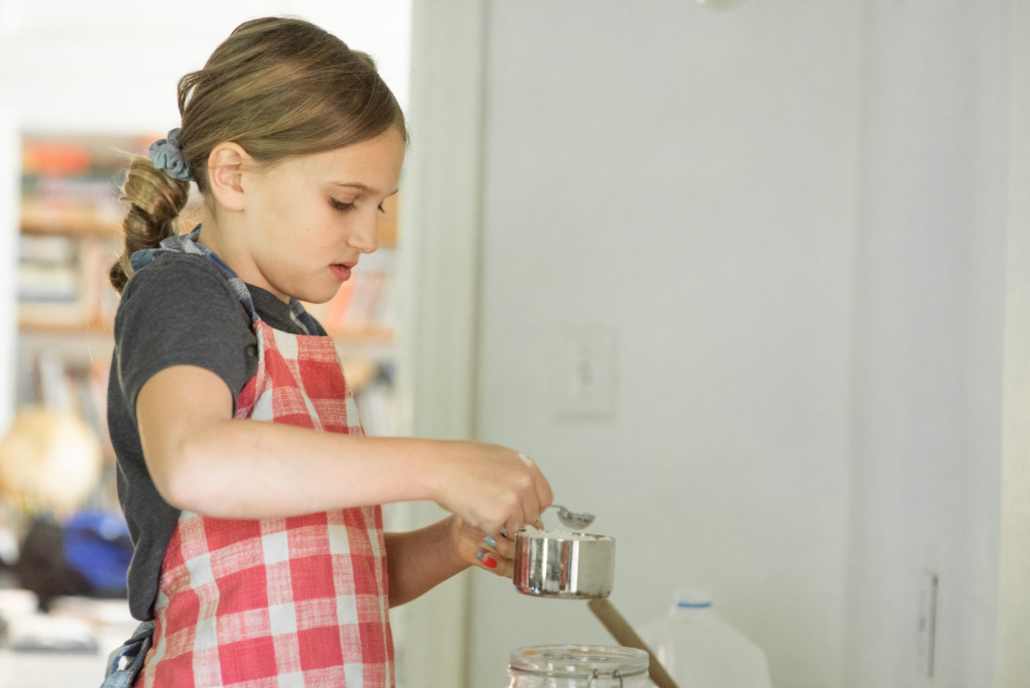
I love the variation and imperfection of watercolors for this project. Although similar, each invitation had a slightly different hue and rhythm, but most of all, Blythe made each one. I helped her mix the paints (crimson, with a little white and yellow) and write, but she chose the colors and painted them herself (sadly, I only had my iphone available for that part). It was such a fun collaboration and a way for Blythe to feel a little ownership in her event. We used them for her birthday, but you could easily adapt this idea for any event or to create a stationery gift. Below, I included the materials and steps for you to do it yourself at home. Enjoy!
{what you need}
- watercolor paper (postcard size or cut larger sheets)
- watercolors
- paint brush/es
- pen/marker
- envelopes
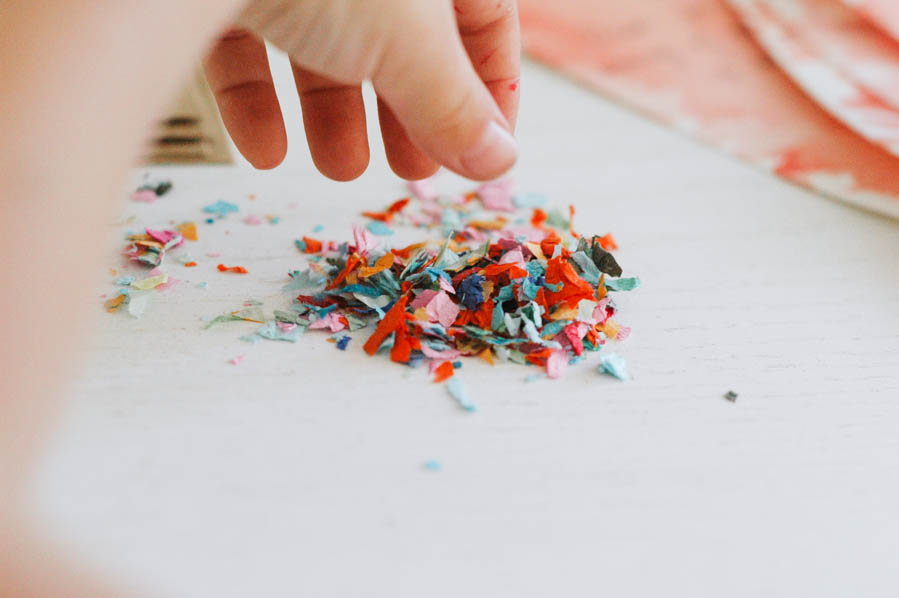
- confetti
- twine
{steps}
- Decide the color/s you want to use and mix your paints. Don’t worry about it being perfect, as I said, the imperfection is part of the beauty.
- Fill a glass of water and begin making strokes along your paper. You may choose to cover the entire paper, creating an ombré effect (dark to light) or leave unfinished edges (as Blythe did).
- Let them fully dry (at least 24 hours).
- Use a fine-tipped marker or pen to write your invitation.
- Place completed invites in an envelope with a small bit of confetti.
- Seal the envelopes and wrap with twine. (You may skip the twine altogether if you’re sending them in the mail.)
Comments
THESE ARE SO CUTE!!!
Thank you! The project turned out lovely. You should try it sometime! It was super easy.
These are SO adorable! I can’t believe after knowing your for more than a year, now is the first time i’m visiting your blog… can’t get enough of it
Corina! Thank you so much, sweet friend. That’s such a sweet compliment. Happy day to you!
i love it! So beautiful. xo
Thank you, Brooke! It really was such a simple and fun project. x