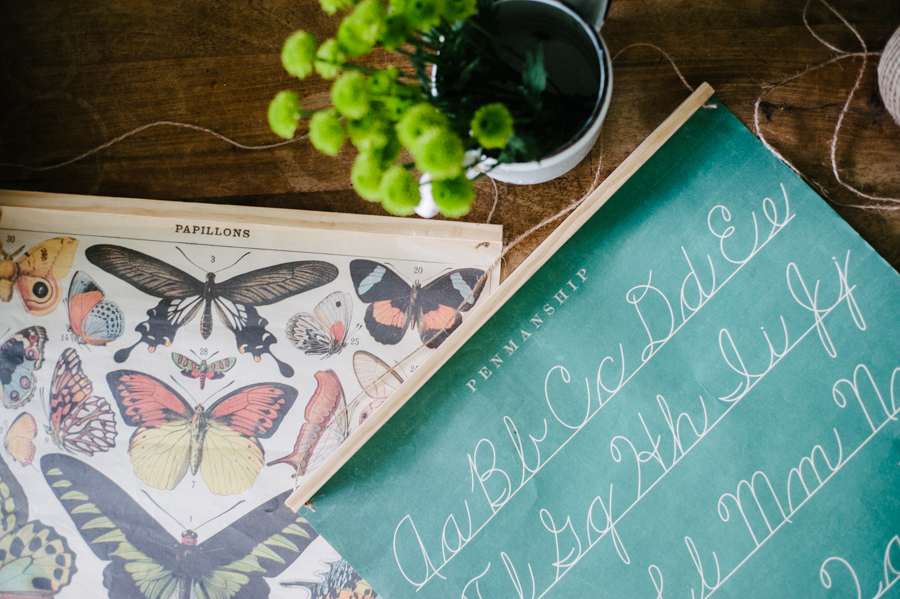
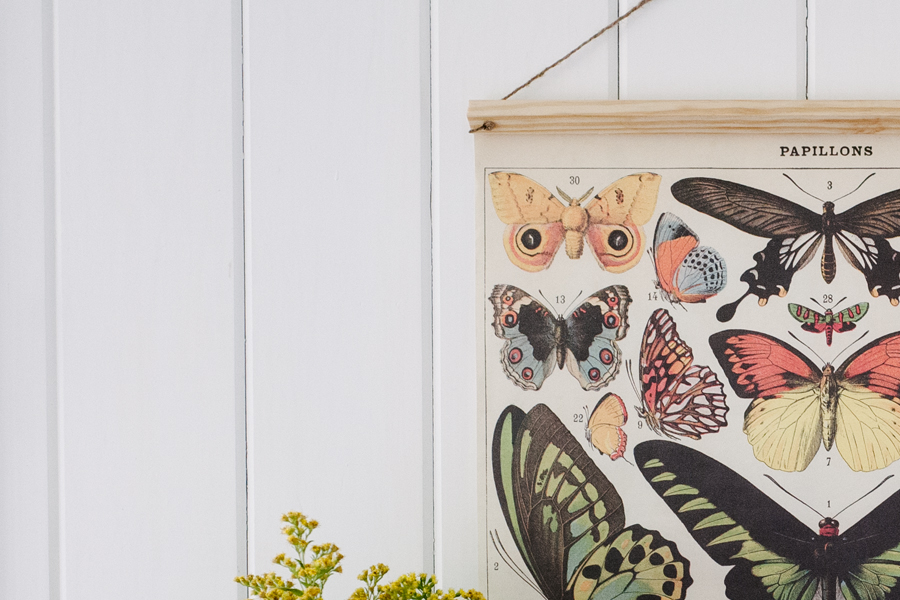
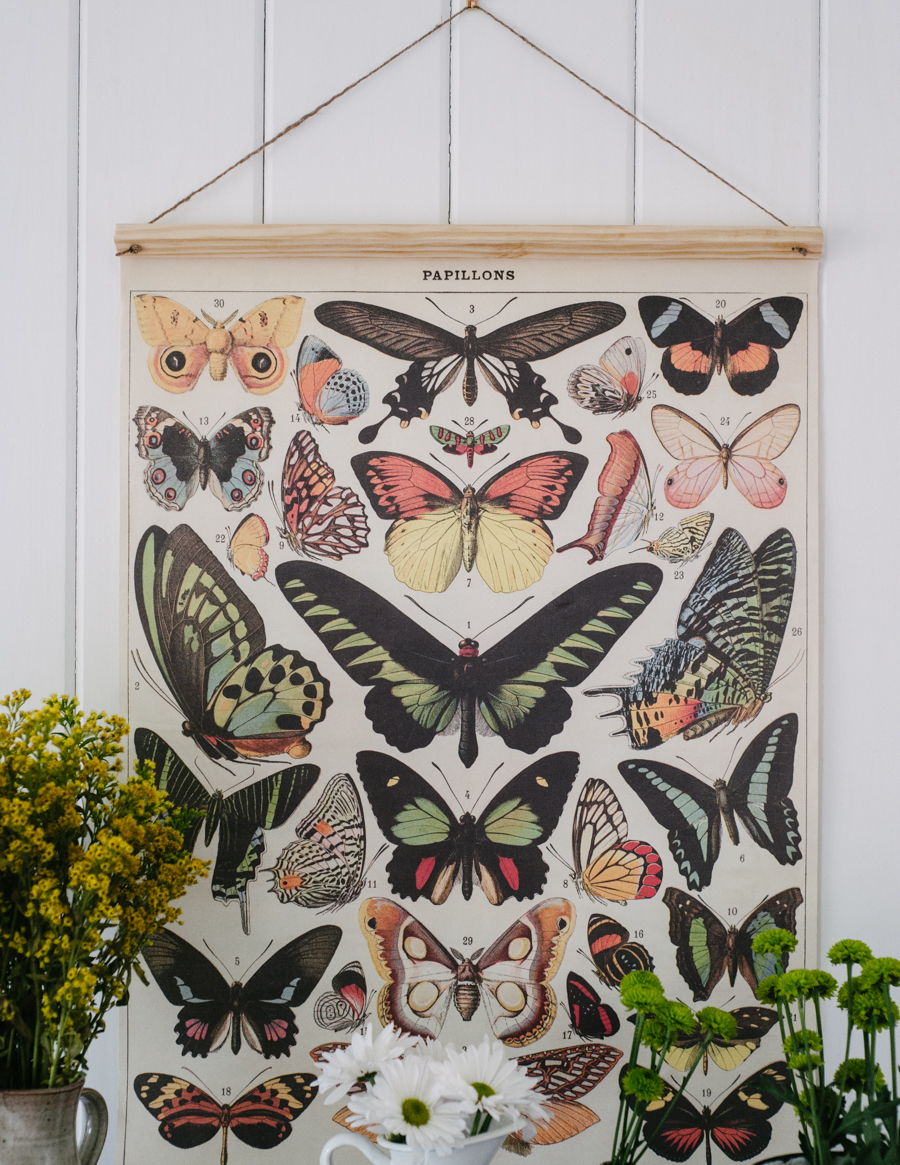
Last weekend, Olive and I built a couple of small vintage-styled poster frames together for their room. We’ve had a few Cavallini posters around our home, tightly rolled up, waiting to be hung for a while, and I finally decided to do something with them. It was such a quick and easy project, I thought I’d share it here with you, as it would be a perfect way to add some pretty visuals and freshen up your your school or play space for the new school year. Either way this project is easy enough to do with your children or during a nap time.
The supply list is minimal and inexpensive. We used pieces of scrap wood leftover from the girls’ loft bed project, but you could easily use small wood dowels, too. And although we only used one piece at the top, opting to let the poster hang freely, it’s possible for you to attach a wood piece to the bottom of the poster for a more tidy finish. I found this spool of the thin rope at the dollar store, although a sturdy baking or jute twine will work well, too. We used regular transparent tape this time which worked well-enough, but I’d recommend double-sided tape for a firmer finish, to keep the poster from dangling off of the wood.
SUPPLIES WE USED:
- 1 -2 wood pieces/dowels cut to the length of the poster (2, if you plan to use one at the top and bottom)
- thin rope, jute, or sturdy baking twine for hanging
- double-sided transparent tape
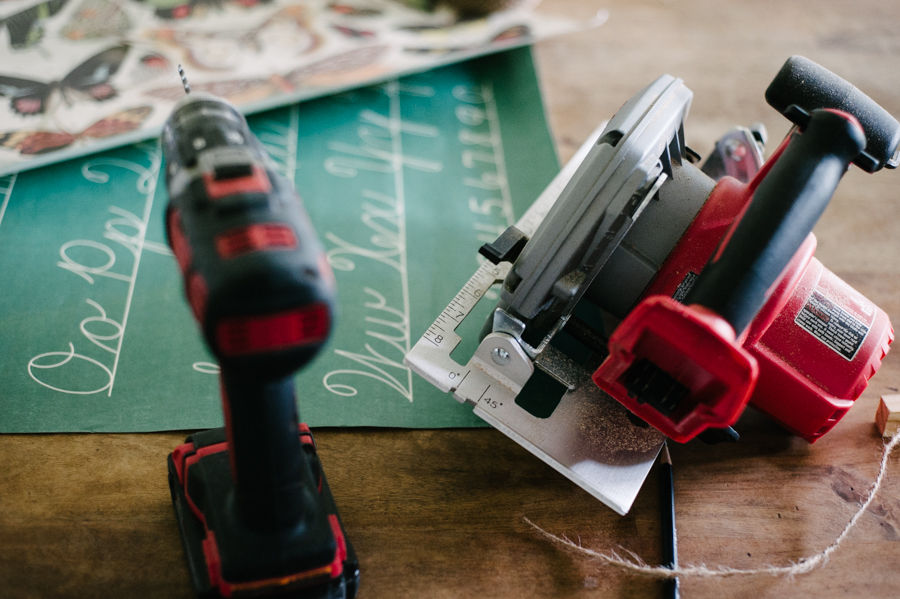
- a drill
- measuring tape (optional)
- poster
- pencil
- scissors
STEPS:
- Measure and cut the wood to match the length of the poster. Decide whether you want the wood to overhang or to be flush with the poster edge.
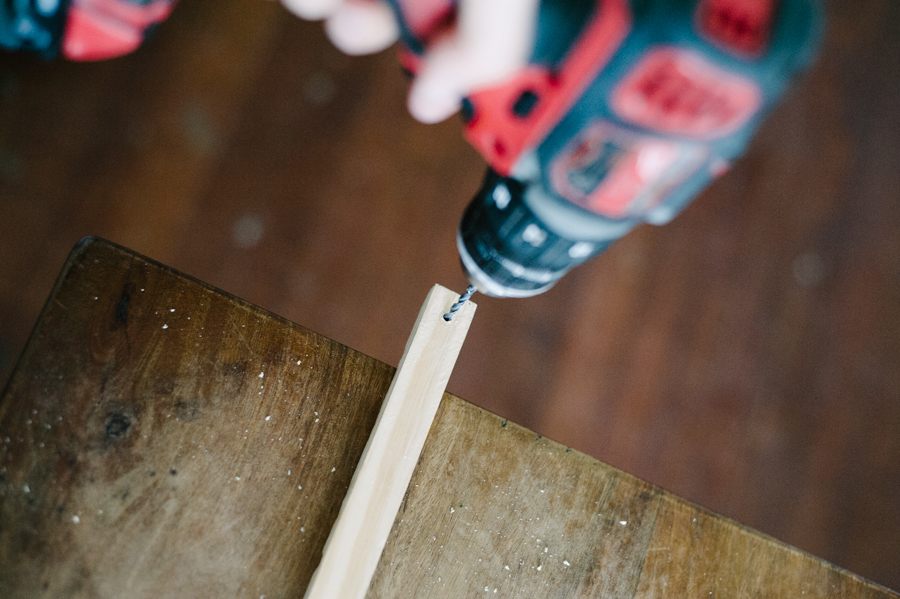
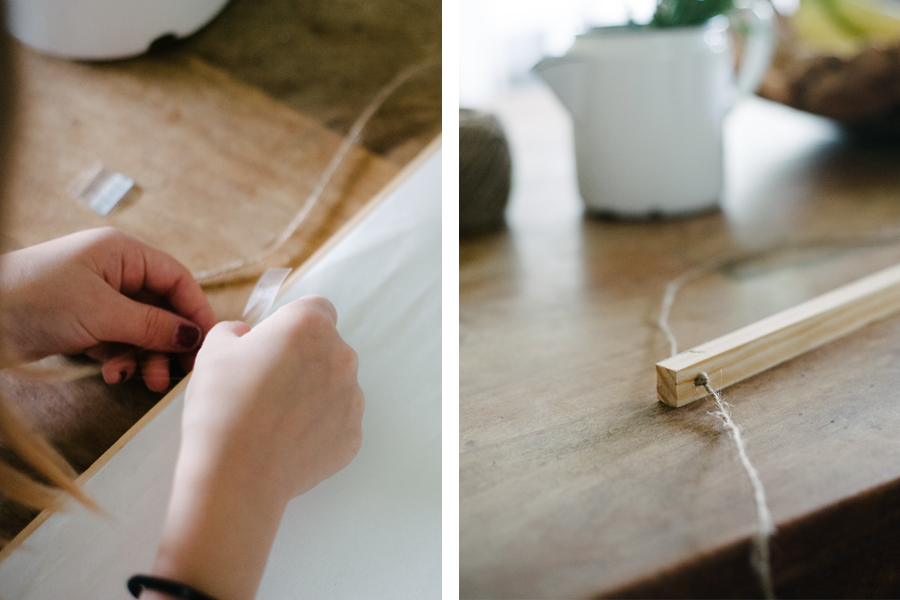
- Mark a dot on each end of the wood piece, approximately 3/4″ from the edge.
- Drill a hole through each dot.
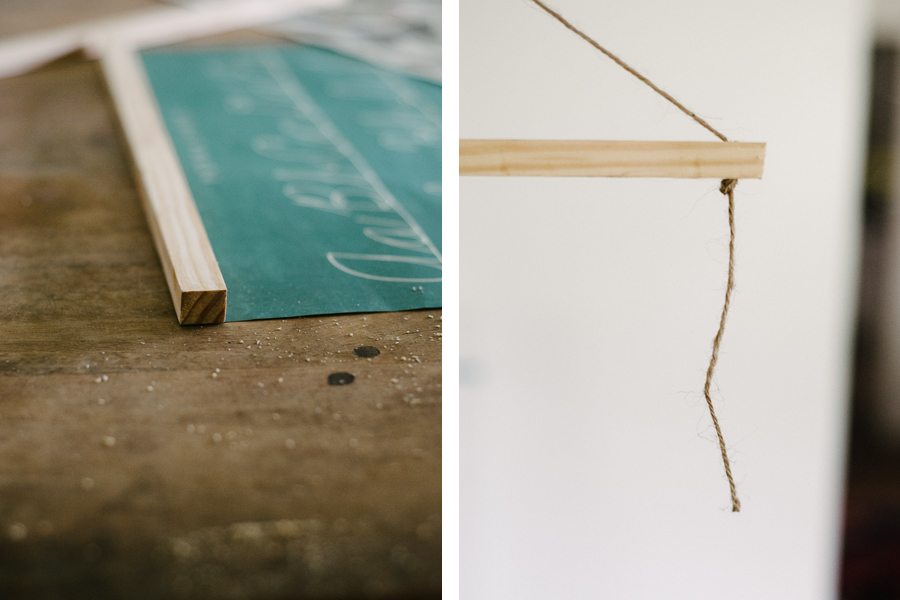
- Cut two feet of rope, threading each end of the rope through each hole in the wood.
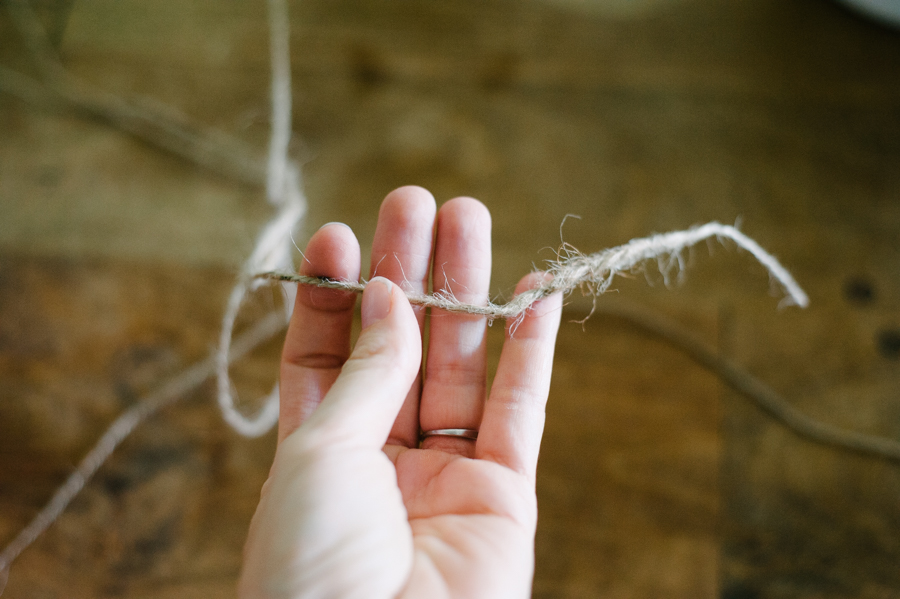
- Before tying off the rope, use your finger to create a triangle with the rope, estimating how long you want the poster to hang from the nail.
- Double-tie the rope and trim off the excess.
- Using the double-sided tape, adhere the poster to the wood, so that the front of the poster meets with the back of the wood piece. Repeat for the bottom part of the poster, if doing so.
- Hang it on the wall!


Comments
Oh my word- I am so thankful you posted this! I JUST bought some of these same posters from a local little paperie shop & ive kept them rolled up because I didn’t know how I was going to hang them! This is exactly what I was picturing! Thank you so much- simple & beautiful! <3
This is so simple… Yet so effective! Love it! Totally stealing this idea! Thanks for sharing!
Beautiful!!!!
I long for the day where I live in a place I can hang things from the walls! How I miss our maps.
PS-I linked to your blog in a post yesterday as one of the lovely places I visit. You inspire! I took a rather long blogging break, but look forward to more regular postings now.